Friday, July 3, 2015

Remarkable You Sympathy Card

Linda Vich Creates: Remarkable You Sympathy Card. Elegant Calla Lilies are gold embossed and watercolored and embellished with a Simply Pressed Clay sentiment.All too often these days, I find myself needing to make a sympathy card. I am ever hopeful that by designing a heartfelt card, it can bring the recipient of the card some measure of comfort.

Inspiration for my card actually came to me while I was working at Walmart.

In the last couple of days, several people have purchased Calla Lilies. We have yellow ones as well as purple ones that are almost black in color. I think that they are one of the most elegant looking flowers I've seen and I thought they would work well for my card.

Though a lot of sympathy cards utilize muted colors, I decided on strong, rich colors for my card.


Though I knew what stamp set I wanted to use as well as what techniques I wanted to employ, it still took me awhile to bring the card to completion as I tried out different matte sizes and embellishments. I also had a hard time deciding what color to use for my sentiment piece.

I remembered that there were a lovely pair of Calla Lilies in the The Remarkable You stamp set. I chose to stamp these on watercolor paper using Versamark and then heat embossed with Gold Stampin' Emboss Powder.

I used Blackberry Bliss reinker with my Blender Pen to color the flowers. The blend of colors from the dark, rich blackberry to the lighter, fruitier pink made me very happy!

I adhered the lilies to a very thin matte of Mossy Meadow using Fuse Fast adhesive. I inked the edges of a slightly larger Mossy Meadow matte with Versamark and then heat embossed with gold. I adhered the thin matte to the embossed matte. Then, using Dimensionals, I adhered these mattes to a Tip Top Taupe matte.

Using a Stampin' Spritzer, I prepared a mixture of Rubbing Alcohol and a couple of drops of Rich Razzleberry reinker. In my makeshift spray booth (an old shoe box) I sprayed some Jute Ribbon to match my card. Once the ribbon was dry, I wrapped it around the matte, adhering it with Sticky Strip and tape.

Earlier in the day, I had rolled out a piece of the now retired Simply Pressed Clay (Why on earth did Stampin' Up retire this product? It's wonderful!) and pressed my sentiment stamp, from the Best Thoughts stamp set, into the clay. This is one of my favorite techniques for using the clay! I then pressed one of the Oval Collection Framelits into the clay to provide a shape to cut out the sentiment when it was dry.

I trimmed the dried clay with scissors, following the outline left by the oval framelit. I pressed the dry clay sentiment into my Old Olive stamp pad, being sure it was well inked on both sides and edges. I then wiped off some of the ink until I was pleased with the distressed look of the sentiment.

Using a sponge dauber, I applied Mossy Meadow ink to the edges and rubbed a little bit over the words themselves to make them stand out more. The sentiment was then adhered to the card front using Dimensionals.

Linda Vich Creates: Remarkable You Sympathy Card. Elegant Calla Lilies are gold embossed and watercolored and embellished with a Simply Pressed Clay sentiment.
Close up of Simply Pressed Clay sentiment
The mattes were adhered to the Blackberry Bliss card base using Dimensionals.

For the inside matte, I used a piece of the now retired Naturals White card stock. I stamped a portion of the Calla Lilies in the bottom right corner, using Sahara Sand. The edges were inked with Versamark and heat embossed with gold.

Linda Vich Creates: Remarkable You Sympathy Card. Elegant Calla Lilies are gold embossed and watercolored and embellished with a Simply Pressed Clay sentiment.

I think my card turned out well though I wish I had rolled the piece of clay just a little bit thinner so that it didn't look so thick on the bottom of the card. There's always next time to get it right, isn't there?

Linda Vich Creates: Remarkable You Sympathy Card. Elegant Calla Lilies are gold embossed and watercolored and embellished with a Simply Pressed Clay sentiment.


Drop me a comment below letting me know how you have used Simply Pressed Clay in your projects!

Built for Free Using: My Stampin Blog

Thursday, June 25, 2015

Watercolor Wings: A Study In Neutrals

Linda Vich Creates: Watercolor Wings: A Study In Neutrals. A stunning combo of neutral card stocks combined with glitzy butterflies and stamped flowers from Indescribable Gift and you have a recipe for a successful card!It's always such a delight when a card you've envisioned comes together!

Last night I started playing with a card that had been rolling around in my mind for about a day.

I got my mattes all cut and my stamping and die cutting pretty much done. Usually I finish a project, even if it is late but I was still recovering from a late night from the previous project so I headed to bed!

This morning, I was able to finish my card and I am more than pleased with how it turned out!

I started by stamping the large butterfly in the Watercolor Wings set on Very Vanilla card stock.

I used Sahara Sand to stamp the first stamp, Crumb Cake for the second and Tip Top Taupe for the third. I die cut it with the Bold Butterfly Framelits.

I then used the Butterflies Thinlits Dies to cut a detailed butterfly from Gold Glimmer paper. I also cut a small detailed butterfly from Gold Foil paper using the Bold Butterfly Framelits.

I stamped the inked butterfly with Versamark and then heat embossed it with Clear Stampin' Emboss Powder. I repeated the process to produce a smooth as glass shiny butterfly!

I attached the Gold Glimmer butterfly to the stamped butterfly using Crystal Effects and then attached the smaller Gold Foil butterfly on top. I liked the beautiful contrast of the clear embossed butterfly through the openings in the Gold Glimmer butterfly!

Next, I used my MISTI to stamp the flowers from Indescribable Gift in Tip Top Taupe on a 4 3/8" square Crumb Cake matte. I also stamped the sentiment from the Watercolor Wings stamp set.
I adhered the stamped matte to a Very Vanilla 4 5/8" matte using Fuse Fast.

Using Sticky Strip, I adhered a strip of Vanilla 5/8" Satin Ribbon across the bottom of the matte and then added a strip of Gold Sequin Trim.

I adhered a 5 1/4" matte of Tip Top Taupe to the 5 1/2" Very Vanilla card base using Fuse Fast. I then adhered the top matte to the card base using Dimensionals.

The butterfly was attached in the bottom right corner using both Crystal Effects and a couple of Dimensionals.

A 5 1/4" Crumb Cake matte was stamped with a section of the same flower stamp, using Tip Top Taupe, and then the matte was adhered to the inside of the card.

Linda Vich Creates: Watercolor Wings: A Study In Neutrals. A stunning combo of neutral card stocks combined with glitzy butterflies and stamped flowers from Indescribable Gift and you have a recipe for a successful card!


Linda Vich Creates: Watercolor Wings: A Study In Neutrals. A stunning combo of neutral card stocks combined with glitzy butterflies and stamped flowers from Indescribable Gift and you have a recipe for a successful card!
Close-up detail of butterfly

I just love the look of the gold and the neutral colors together. The Tip Top Taupe works especially well with the Crumb Cake.

What will you or have you created with the Watercolor Wings stamp set? Let me know in the comments below!

Built for Free Using: My Stampin Blog

Wednesday, June 24, 2015

I Spy A Dragonfly

Linda Vich Creates: I Spy A Dragonfly. A watercolored matte, edged with ferns makes a perfect landing spot for a sparkly pink dragonfly from the Awesomely Artistic stamp set! Twinkling sequins and a sheer bow complete this lovely card.I'm back today with another card inspired by the mood board in Catherine Pooler's online class, In The Mood. Monday's post, Brushstrokes For A Friend was also inspired by the same mood board.

Once again, I was captivated by the color combo of pinks and greens.

To begin my creative process, I taped down a piece of watercolor paper on my craft mat. With a broad watercolor brush, I wet the entire paper.I then stamped a bit of Pumice Stone distress ink on my craft mat, added a bit of water and then proceeded to give my paper a wash of color. I dried it with my heat tool and repeated the process a couple of times until I was satisfied with the depth of the color.

I then used a bit of Spun Sugar distress ink to provide a few streaks of pink. I did the same using Peeled Paint distress ink.


I dried the paper and then added a few flecks of water–ordinarily I love this effect but in retrospect I wish I hadn't done it this time because I was left with strangely colored areas where the water hit the paper. I dried the paper again and then trimmed it down to 3.75 x 5".

Using Pear Pizzazz ink and fern stamps from the Awesomely Artistic stamp set, I stamped around the outside of the card, being sure to stamp off sometimes to build depth. I then added a few spots of grunge with Sahara Sand ink.

I stamped the sentiment in Crumb Cake and used a sponge dauber to ink the edges of the matte with Mossy Meadow ink.

I adhered the stamped layer to a Pear Pizzazz matte and then tied a sheer pink ribbon around it. This matte was then adhered to a Melon Mambo card base using Dimensionals.

I stamped the dragonfly from the stamp set with Versamark on vellum. I heat embossed it using Zing Pink Embossing Powder and then fussy cut it. Because the legs looked weird, I cut them off.
The dragonfly and some sequins were adhered to the card front using Crystal Effects.

I stamped the leafy stamp from the stamp set on a matte of Naturals Ivory card stock. I also inked the edges with Mossy Meadow. I adhered the matte inside the card using Fuse Fast.

Linda Vich Creates: I Spy A Dragonfly. A watercolored matte, edged with ferns makes a perfect landing spot for a sparkly pink dragonfly from the Awesomely Artistic stamp set! Twinkling sequins and a sheer bow complete this lovely card.

Linda Vich Creates: I Spy A Dragonfly. A watercolored matte, edged with ferns makes a perfect landing spot for a sparkly pink dragonfly from the Awesomely Artistic stamp set! Twinkling sequins and a sheer bow complete this lovely card.


 What has inspired you to create a particular card? Share your story below!

Built for Free Using: My Stampin Blog

Monday, June 22, 2015

Bittersweet Card Class

Linda Vich Creates: Bittersweet Card ClassJune 19 was the wind-up for our monthly card class. I always look forward to each of our card classes but because this was the last class before our summer break, it was also a little sad to think we wouldn't be stamping together for two whole months!

At our wind-ups, we always bring food to share and last year we started having our food first so that we could socialize as a group before we got down to the stamping end of things. It's always fun to sample the different treats and though we didn't know who was bringing what, it all worked out well!

Just before we broke up to head down to the craft room, the group presented me with two lovely gifts and a handmade card! Such sweet ladies! As I started to read the card, I got a little emotional so I saved it to finish reading later. The gifts and the card were much appreciated!

Linda Vich Creates: Bittersweet Card ClassLinda Vich Creates: Bittersweet Card Class

The two cards we made for this class were very different in nature.

The first card was a fun, lighthearted card to construct. Using the Sprinkles of Life stamp set can't be anything but fun, right?

Linda Vich Creates: Bittersweet Card Class. Playful ice cream scoops created with the Sprinkles of Life stamp set.

The ice cream image was stamped in each of three colors of ink–Pool Party, Bermuda Bay, and Island Indigo–on the coordinating card stock and then punched with the Tree Builder stamp.

The cone was stamped on Tip Top Taupe and fussy cut. It was adhered to a Whisper White matte and then each layer of ice cream was stacked on top using Dimensionals.

The sentiment was stamped in Bermuda Bay and then a length of Coastal Cabana Thick Baker's Twine was knotted around the matte. It was then adhered to a Bermuda Bay matte with Dimensionals and then adhered to the Bermuda Bay card base using Fuse Fast.

Linda Vich Creates: Bittersweet Card Class. Playful ice cream scoops created with the Sprinkles of Life stamp set.

A Wink of Stella pen was used to highlight the ice cream layers.

Linda Vich Creates: Bittersweet Card Class. Playful ice cream scoops created with the Sprinkles of Life stamp set.
Close-up showing the shimmer from Wink of Stella pen.


Looks good enough to eat, doesn't it?!
Built for Free Using: My Stampin Blog


Our second card was designed to be a sympathy card.


Linda Vich Creates: Bittersweet Card Class. Rich gold embossing and punched flowers from Gold Foil and Gold Glimmer papers produce a stunning sympathy card.


The MISTI and the woodgrain stamp from the Build a Bouquet stamp set was used to stamp with Versamark on a 4 x 5.25" Basic Black matte. It was heat embossed with Gold Stampin' Emboss Powder and then the matte was trimmed to the size of the stamp. It was adhered to the black card base using Dimensionals.

On a strip of Basic Black card stock 5 x 1" (just shy of 1") the sentiment from the You've Got This stamp set was stamped in Versamark and then heat embossed with the gold. The Triple Banner punch was then used to flag each end. It was adhered to the matte using Dimensionals.

The Pansy Punch was used to cut two flowers from Gold Foil and one from Basic Black. Two flowers were punched from Basic Black and one from Gold Glimmer using the Petite Petals punch.
Each group of punched flowers were put together and pierced through the centre using the Piercing Tool and Piercing Mat.

Two 1/8" brads were heat embossed with Gold and one was colored black with a Sharpie marker. These were used to attach the flower groups. The three flowers were adhered with Dimensionals at the top of the card.

A matte of Naturals Ivory card stock was stamped with Versamark and heat embossed with Gold. The edges were also inked and embossed. The matte was then adhered to the inside of the card.

Linda Vich Creates: Bittersweet Card Class. Rich gold embossing and punched flowers from Gold Foil and Gold Glimmer papers produce a stunning sympathy card.


Linda Vich Creates: Bittersweet Card Class. Rich gold embossing and punched flowers from Gold Foil and Gold Glimmer papers produce a stunning sympathy card.


I think that the gold embossing gives a rich look when used on black. Have you tried embossing on gold? Let me know in the comments below and link me up to your creations!

Built for Free Using: My Stampin Blog

Brushstrokes For A Friend

Linda Vich Creates: Brushstrokes For A Friend. A pleasing striped background of pink and mint is embellished with colored, Bordering Blooms, roses and pearls.Today I drew inspiration from one of the wonderful Mood Boards from Catherine Pooler's online class, In The Mood. I can't show you the board here but you can sign up for the class and get some wonderful inspiration for yourself!

I can tell you that the board contains wonderful hues of pink and mint and that's what I decided to use in my card design.

Though I had hoped to use a Blender Pen to color some flowers for my project, I was having a problem with my watercolor paper "pilling" so I changed strategies.

Using my MISTI and the Brushstrokes background stamp, I colored the stripes using Mint Macaron and Pink Pirouette Stampin' Write Markers and then stamped on a Whisper White matte. I trimmed the matte a bit and then adhered it to a Pink Pirouette card base using Fuse Fast.

A 1" strip of vellum was stamped with Versamark using one of the borders from the Bordering Blooms stamp set. I heat embossed it using White Stampin' Emboss Powder and then flagged one end using the Triple Banner Punch.

On the embossed side, I used Mint Macaron, Strawberry Slush, and Blackberry Bliss Stampin' Write Markers to color in the border.

On a 1 1/2" strip of Mint Macaron card stock I stamped the sentiment from the Sprinkles of Life stamp set using Rose Red. I flagged one end using the Triple Banner Punch.

I then adhered the vellum to the Mint Macaron strip using Multipurpose Liquid Glue, being careful to hide the adhesive by applying it behind the colored embossing.

Using a sponge, a brushed a thin strip of Dazzling Diamonds Glimmer paper with Strawberry Slush and then used Crystal Effects to adhere it to the bottom of the Mint Macaron banner.

Part of a Tea Doily was adhered to the card front and then the banner was adhered on top of it using Fuse Fast.

I used Blackberry Bliss with a sponge to color the three flowers from the now retired Vanilla Flower Trim. Crystal Effects adhered it to the banner.

Five pearls were the final embellishment to complete the card.

Have you played with the Brushstrokes stamp yet? Let me know what you have created in the comments below!

Built for Free Using: My Stampin Blog


Saturday, June 20, 2015

Butterfly Thinlits Meet Watercolor Wings

Linda Vich Creates: Butterfly Thinlits Meet Watercolor Wings. Our hostess, Carolyn!Carolyn, the lady whose home our stamping group meets in each month, is a very special lady.

A past Stampin' Up! demonstrator herself, each month she welcomes us into her lovely craft room. She ensures that the tables are set with a sheet of grid paper for each stamper and that other tools like her Big Shot and heat tool are nearby if we need to use them.

On the odd occasion when I have run out of paper or ink or another necessary item, she generously shares from her personal stash.

Because she is so special, and Friday was our last stamping class before the summer, I wanted to make her a card to thank her for all that she does for us.

Carolyn is partial to teal colors and I thought that the new Watercolor Wings stamp set would create a very pretty butterfly to adorn her card!

I recently found out that the Bold Butterfly Framelits, Butterflies Thinlits and Butterfly Basics and the Watercolor Wings stamp were all designed to work together! There are countless combinations for using the the stamps and the matching dies, the only thing limiting you is your imagination!

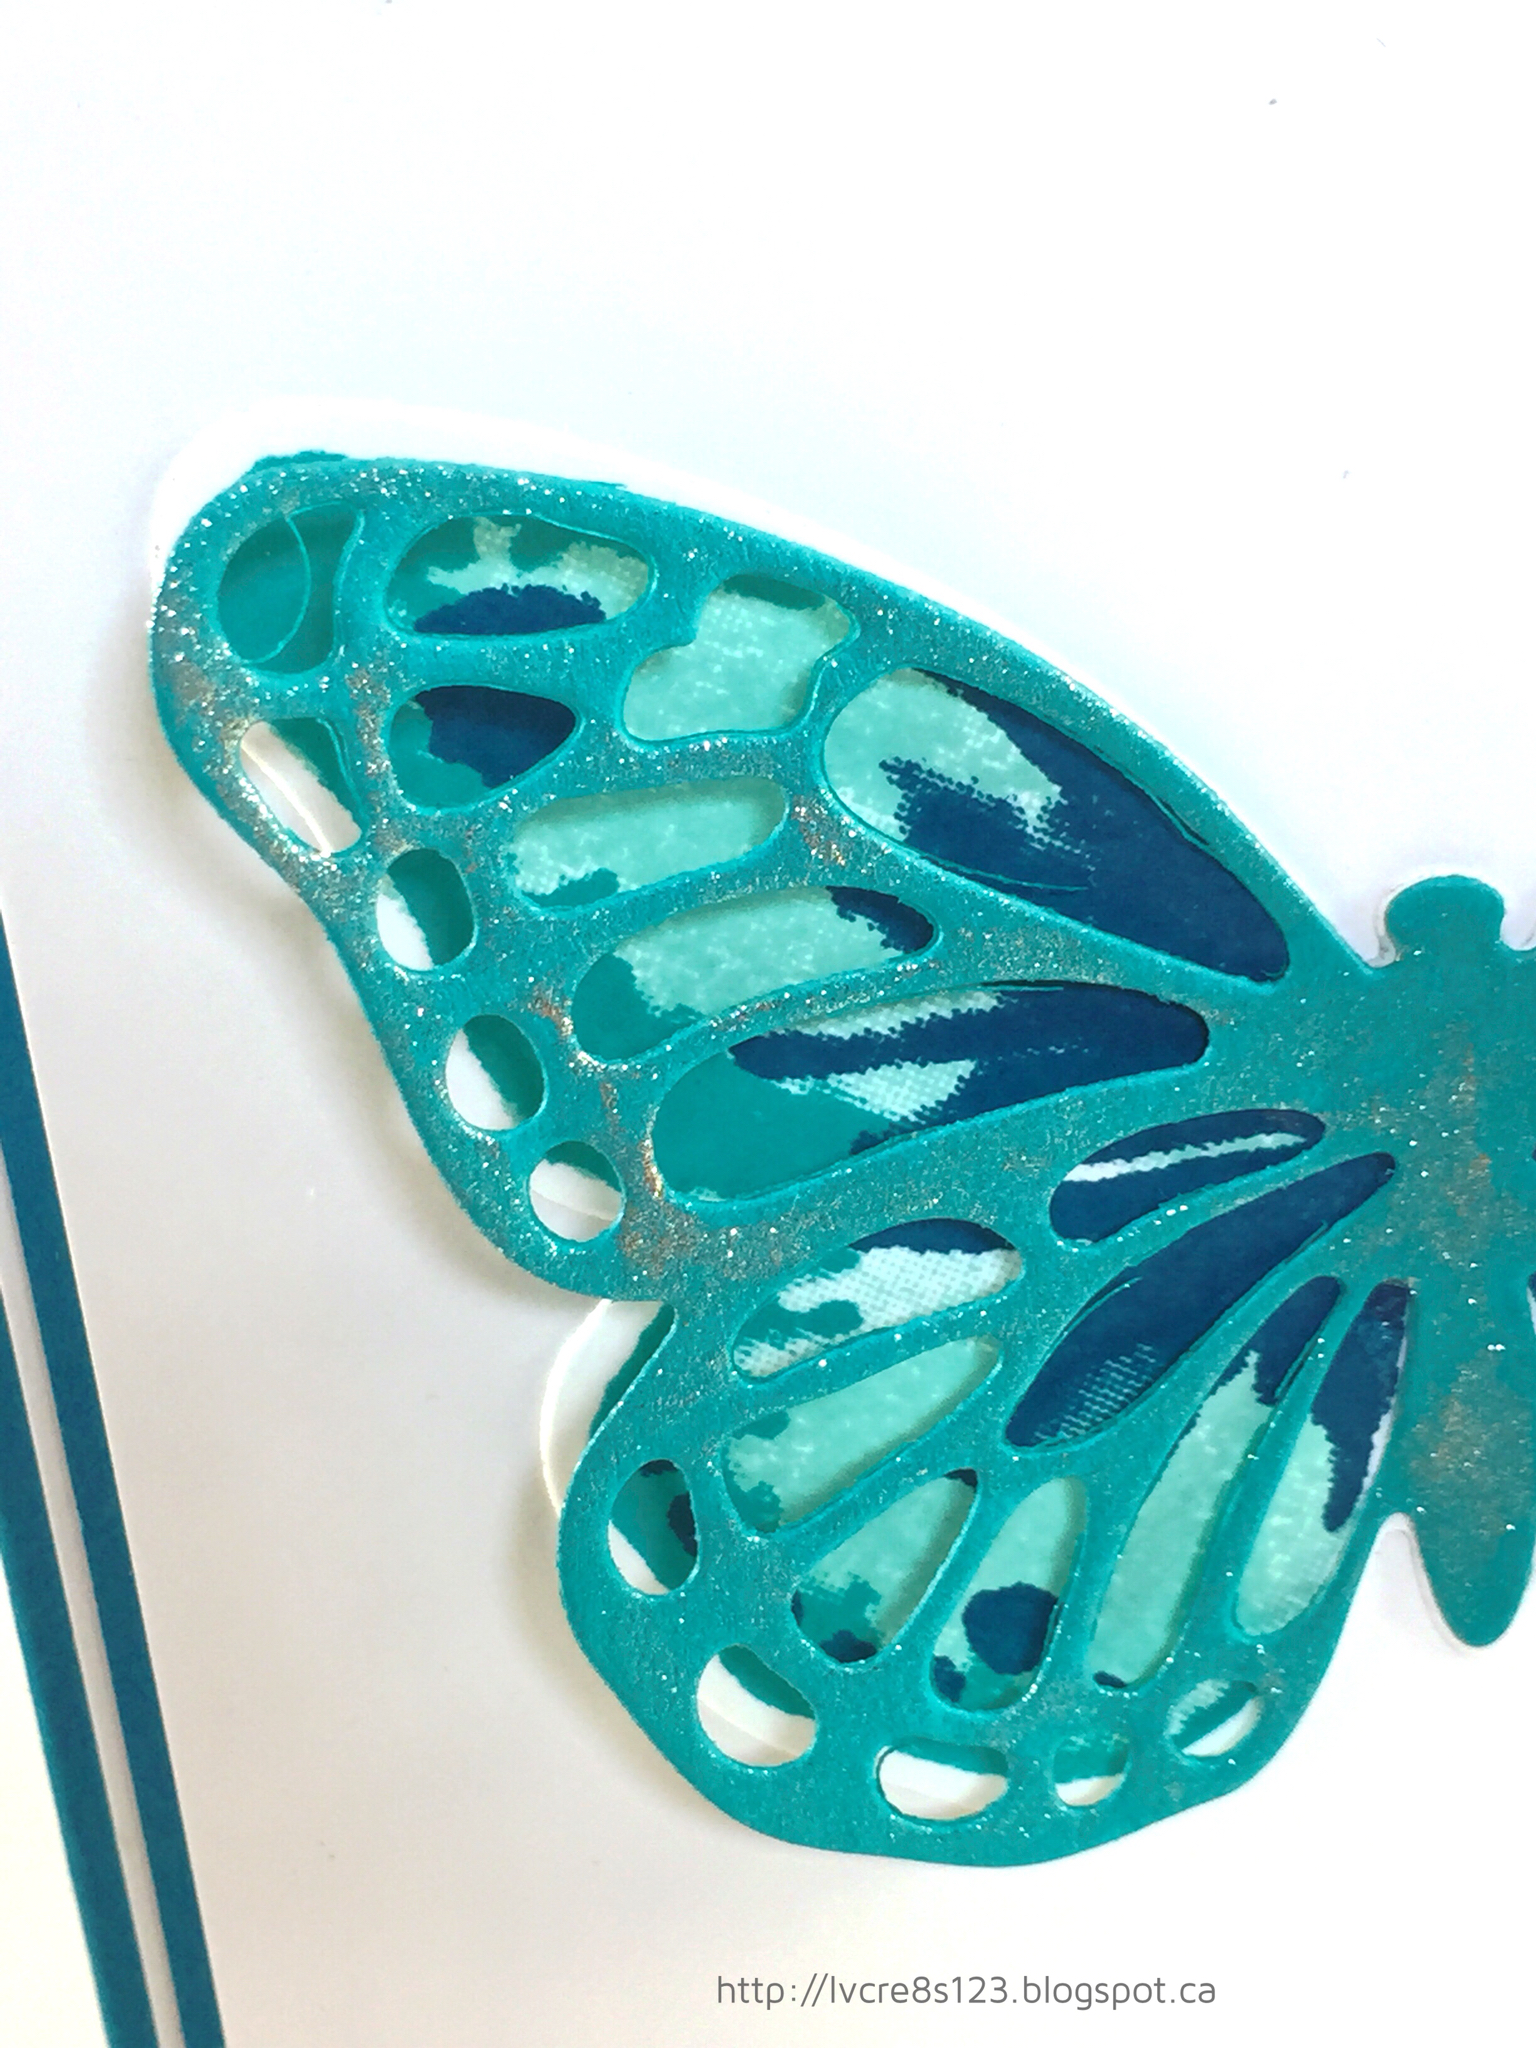
Linda Vich Creates: Butterfly Thinlits Meet Watercolor Wings. A boldly inked butterfly from Watercolor Wings is showcased behind the detailed die cut from the Butterfly Thinlits.

I started by stamping the three parts of the butterfly with Coastal Cabana, Bermuda Bay and Island Indigo. I didn't bother with stamping the body since I knew I would be adding the detailed die cut above it.

I die cut the butterfly using the Bold Butterfly Framelits and then die cut a detailed butterfly from Bermuda Bay card stock using the Butterfly Thinlits.

I glued the stamped butterfly to a white matte and then glued the body of the die cut one to it, bending the wings up slightly.

Using my MISTI and Island Indigo ink, I stamped the sentiment on Whisper White card stock. and then die cut it using the Tags & Labels Thinlits die. I cut a second larger tag from Bermuda Bay. The white matte was adhered to an Island Indigo matte. I adhered the white tag to the Bermuda Bay one using Fuse Fast.

I fastened a length of Bermuda Bay Sequin Trim around the matte and adhered the tag over it using Dimensionals.

I adhered a white matte to an Island Indigo card base and then used Dimensionals to adhere the decorated matte.

Linda Vich Creates: Butterfly Thinlits Meet Watercolor Wings. A boldly inked butterfly from Watercolor Wings is showcased behind the detailed die cut from the Butterfly Thinlits.

For the inside of the card, I stamped a smaller butterfly in the bottom right corner of a Naturals White card stock matte and adhered it to the inside of the card.

Linda Vich Creates: Butterfly Thinlits Meet Watercolor Wings. A boldly inked butterfly from Watercolor Wings is showcased behind the detailed die cut from the Butterfly Thinlits.

For the finishing touch, I painted over the butterfly die cut, on the front of the card, with my Wink of Stella pen to give a bit of extra glimmer.

Linda Vich Creates: Butterfly Thinlits Meet Watercolor Wings. A boldly inked butterfly from Watercolor Wings is showcased behind the detailed die cut from the Butterfly Thinlits.
Close-up showing the glimmer from the Wink of Stella pen.

How about you–have you tried the Watercolor Wings and the matching dies yet? If you haven't, you'll love them!
Built for Free Using: My Stampin Blog

Friday, June 19, 2015

Watercolored Best Thoughts


I had the day off to play in my craft room today but it was hard to choose what to play with first!

I finally decided to use the flower stamp in the lovely Hostess set, Best Thoughts.

This morning while eating breakfast, I was viewing cards in a blog hop for Catherine Pooler's newest online class, In The Mood. A special Mood Board was created just for the hop. Click on the image below to check out the wonderful creations in this hop!

In The Mood Blog Hop

Who wouldn't be inspired when viewing a Mood Board like this? Anyway, one of the cards shared by Heather North caught my eye:


To create my card using her technique I started with a 4 x 5.25" Watercolor matte. Using my MISTI and Versamark ink, I stamped the flower and then heat embossed it using Clear Stampin' Emboss Powder.

I taped the matte onto my craft sheet with Washi tape to stop it from warping.

I used a small paint brush to paint some clear water onto the flower. On my Tim Holtz Craft Mat I stamped some distress inks: Peacock Feathers, Spun Sugar and Picked Raspberry. I dabbed the colors onto the flower, adding more water as needed to get an effect I liked.

Because I had gone out of the lines of the flower a little, I decided to paint a very pale background wash with the Spun Sugar ink. I heat set the flower and then painted the background and heat set it as well. I sprinkled a few water drops on but they didn't react as well as usual because I really watered down the ink so it wouldn't be so intense.

I made sure the whole painting was completely dry and then removed the washi tape. I then trimmed the matte down to remove the white edges.

I adhered the watercolor matte to a Whisper White matte using Fuse Fast. Using MISTI I stamped the sentiment using Stazon Jet Black ink because I wanted the sentiment to overlap the stem of the flower and because it was embossed, the only ink that would adhere to it would be Stazon.

I tied a sheer bow around the matte and then adhered it to a Bermuda Bay card stock matte. Finally, the whole thing was adhered to a Perfect Plum card base using Dimensionals.

To complete the card, I added a sprinkling of Sparkling Clear sequins from Pretty Pink Posh.

Linda Vich Creates: Watercolored Best Thoughts. Distress inks applied as watercolor produce a delightful color medley on the Best Thoughts flower stamp.

Linda Vich Creates: Watercolored Best Thoughts. Distress inks applied as watercolor produce a delightful color medley on the Best Thoughts flower stamp.

Linda Vich Creates: Watercolored Best Thoughts. Distress inks applied as watercolor produce a delightful color medley on the Best Thoughts flower stamp.


I love the colors of this flower and the clear embossing seems to sparkle like the sequins! It is hard to see in the photos but the background really is a very soft pink color that really showcases the flower.

What do you think? Leave me a comment below!

Built for Free Using: My Stampin Blog