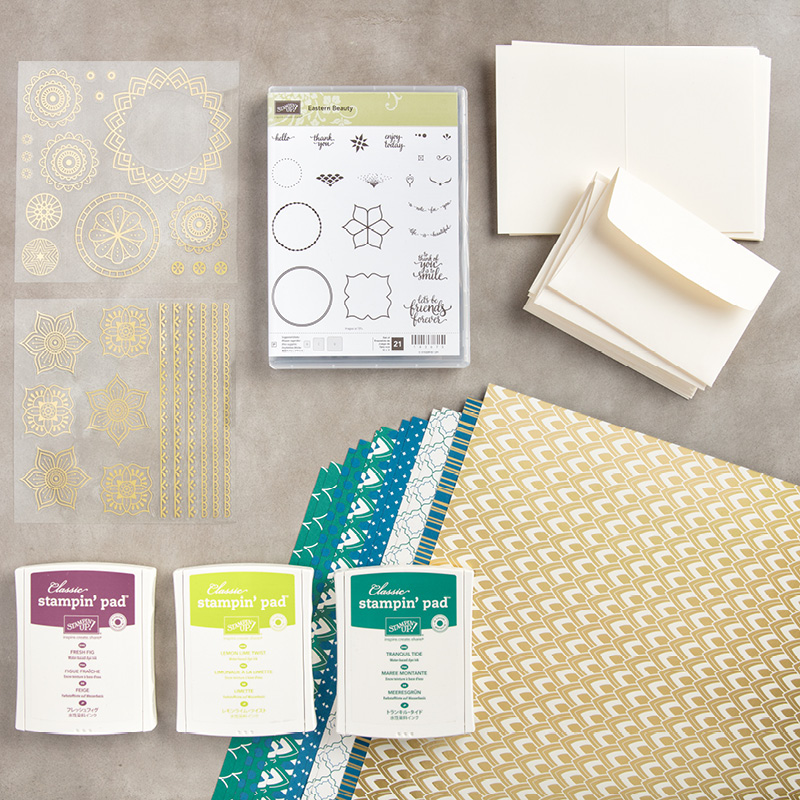
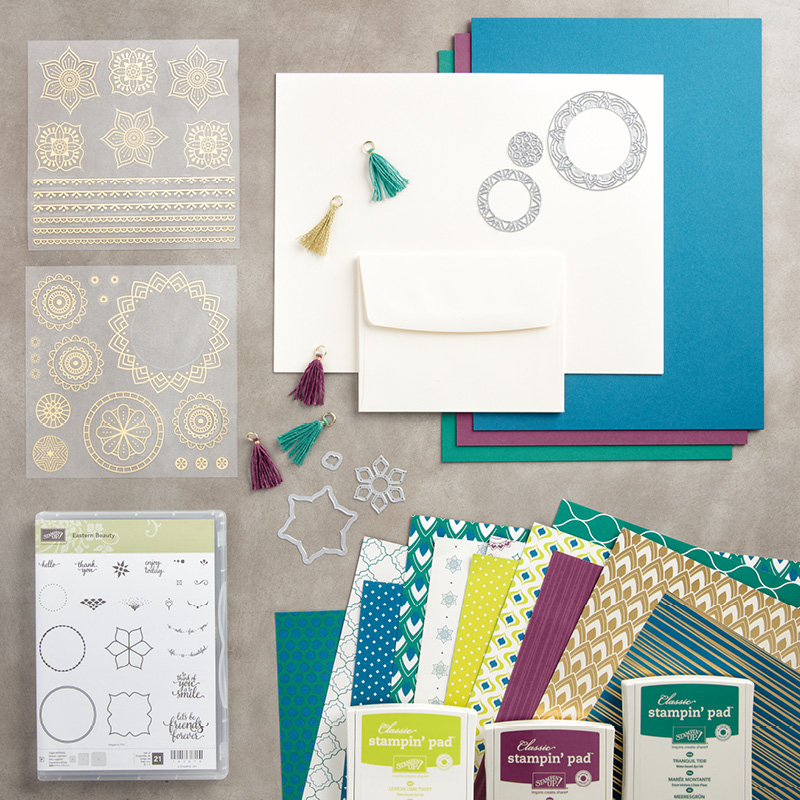
Have you purchased your Eastern Palace Bundle yet? No? Then what are you waiting for?
I have been having all kinds of fun with this bundle that is now available for you to purchase but only until May 31! There are two bundles to choose from and here is what you get:
 |
| Eastern Palace Starter Bundle $77.75 |
 |
| Eastern Palace Premier Bundle $134.75 |
Both bundles contain FREE product! The Starter Bundle offers the Very Vanilla Notecards and Envelopes for FREE while the Premier Bundle gives you the new Very Vanilla Thick Card Stock and the Very Vanilla Envelopes for FREE.
These bundles are only available until May 31 so purchase yours from my online store now!
Now let's take a look at the card I have for you today!
In creating this card, I started by cutting a matte from Watercolor Paper and then used combinations of the Eastern Medallions Thinlits to cut openings in the matte.
Next, I cut open a Ziplock bag and cut it in half. The resulting piece was larger than my matte. I pressed three ink pads down onto the plastic: Pool Party, Lemon Lime Twist, and Bermuda Bay. I then sprayed the plastic which caused the ink to bead.
I pressed my matte face down onto the plastic and then flipped the plastic over. By flipping it over, I was able to see where the ink was and I could "smoosh" it around while looking at the matte. I like this method better than just smooshing the matte down onto color and hoping for the best!
I used my heat tool to dry the matte and then kept repeating this process until I had the coloring the way that I wanted it. I then adhered the matte to a Basic Black matte of the same size by using liquid adhesive. This was then matted with Lemon Lime Twist.
My next step was to stamp the flower image from the stamp set onto a piece of Bermuda Bay using Basic Black. This was then die cut using die pieces #10 and #11 and the petals bent upwards. I also die cut a Basic Black piece using die #3. After die cutting, I used scissors to snip the medallion from the card stock since this die does not completely cut out the shape.
A piece of the new Finely Woven Ribbon in Lemon Lime Twist was knotted vertically on the right of the matte and then the matte was adhered to a 4.75 x 6" Bermuda Bay card base using Dimensionals.
The flower was adhered to the black medallion and then onto the card front using Dimensionals. One of the new Clear Faceted Gems was added to the centre of the flower.
The sentiment, from the Thoughtful Banners stamp set, was stamped in Versamark and heat embossed with White Stampin' Emboss Powder and then adhered to the card front.
For the inside of the card, a small stamp was used with Bermuda Bay to stamp in all four corners. Lemon Lime Twist was then sponged around the matte. It was adhered with Fast Fuse to complete the card.
I just love how the colors turned out on this card!
Special Note: I will be numbering the dies in the more complex sets to make it easier for you to follow which die I used in my blog posts. For future reference, you can check the die sets and their numbering by visiting my Numbered Die Sets page on my blog. I will update it as I use and add more sets.


0 comments:
Post a Comment