Showing posts with label colorful seasons. Show all posts

Monday, July 23, 2018

Best Wishes with Subtle Texture

Linda Vich Creates: Best Wishes with Subtle Texture. Bold and bright and full of best wishes, this card uses the Subtle Embossing Folder as well as Love What You Do and Colorful Seasons.
Yesterday I shared a wreath card with you, built using wreath builder templates. The card I have for you today was intended to be another wreath but my stamping got a little out of hand and turned into DSP!

Like yesterday, I started with a 4 x 4" piece of Thick Whisper White and my Gina K. Designs Wreath Builder Templates. Because I already had these, I didn't feel the need to recreate my own. If you need your own templates, check out my Tropical Chic Wreath Card for links to tutorials for creating your own templates.

I taped the 4 x 4" template into my Stamparatus using Washi Tape and then set in my Whisper White. I used the flower from Colorful Seasons to stamp with Gorgeous Grape to form the initial wreath shape, placing my stamp at a corner, about 1/2" from each side. I then used stamps from the Love What You Do stamp set to fill in the rest of the design using both Bermuda Bay and Shaded Spruce.

The sentiment, from the stamp set that comes in the Darling Label Punch Box, was stamped on Shaded Spruce and heat embossed with White Stampin' Emboss Powder. It was then die cut using the #5 circle from Layering Circles Framelits and a matte was cut using the #5 scalloped circle. (Be sure to check out my Numbered Die Sets.)

The stamped piece was mounted on a thin Shaded Spruce matte. I decided then to add in some actual die cut pieces so used both Sweet Cake Framelits and Petals & More Thinlits with Bermuda Bay and Silver Glimmer. These pieces were arranged on top and then glued before adding the sentiment with Dimensionals.

A 4.75 x 6" card base was cut from Shaded Spruce and a matte from Gorgeous Grape. The matte was embossed using the new Subtles Embossing Folder. This is a wonderful folder for adding just a hint of texture but its use can take a card from "ok" to "WOW!" You'll definitely want to add it to your collection!

Before adhering the matte to the card front, and for a little more glitz, a length of silver ribbon, from the now retired Glitter Ribbon Combo Pack, was tied in a bow around the matte.The matte was then adhered to the card front with Dimensionals and the stamped piece on top.

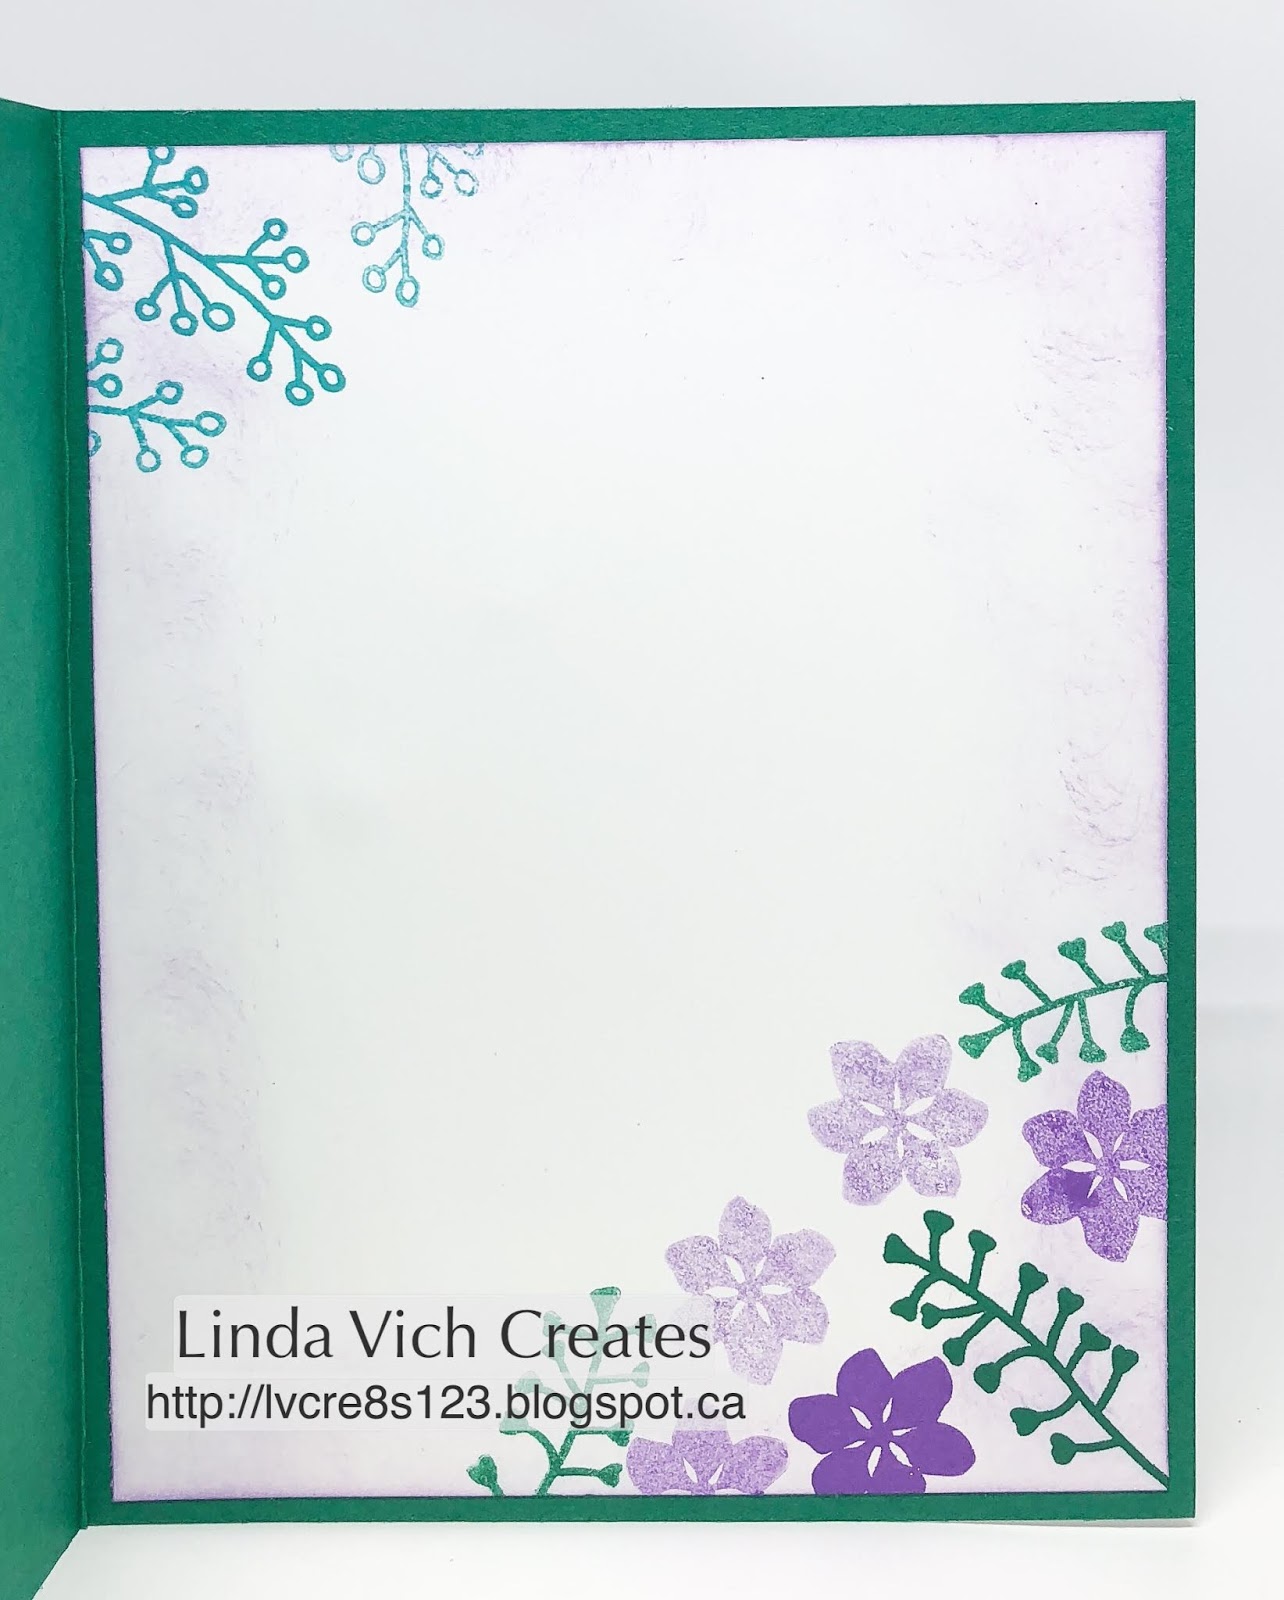
A Whisper White matte was stamped with a few branches and flowers and then sponged with a little Highland Heather before adhering inside the card.

Linda Vich Creates: Best Wishes with Subtle Texture. Bold and bright and full of best wishes, this card uses the Subtle Embossing Folder as well as Love What You Do and Colorful Seasons.

Linda Vich Creates: Best Wishes with Subtle Texture. Bold and bright and full of best wishes, this card uses the Subtle Embossing Folder as well as Love What You Do and Colorful Seasons.

Linda Vich Creates: Best Wishes with Subtle Texture. Bold and bright and full of best wishes, this card uses the Subtle Embossing Folder as well as Love What You Do and Colorful Seasons.


Do you like the color combo for this card? Feel free to save and use it for your own projects!

Linda Vich Creates: Best Wishes with Subtle Texture. Bold and bright and full of best wishes, this card uses the Subtle Embossing Folder as well as Love What You Do and Colorful Seasons.


Product List


Saturday, October 7, 2017

Fall Leaves Birthday

Linda Vich Creates: Fall Leaves Birthday. Multicolored and copper leaves seem to pop right off the embossed Very Vanilla matte on this fall birthday card.
Since the Autumn leaves are so inspiring, I have another fall card for you today!

I started by die cutting three leaves from Watercolor Paper using the Seasonal Layers Thinlits. I also die cut three of the detailed leaves from Copper Foil.

Using sponges, I added Real Red, Pumpkin Pie and Crushed Curry to the leaves. Because I really wanted the colors to pop from beneath the copper die cuts, I used Versamark to heat emboss them with Clear Stampin' Emboss Powder 2X to make them really shiny. I then used liquid adhesive to attach the copper die cuts to the colored leaves.

I cut two mattes–one Copper Foil, one Very Vanilla–and used the Petal Burst Embossing Folder to emboss the Very Vanilla matte. Liquid adhesive was used to adhere the embossed matte to the copper one and then to a Dapper Denim card front.

The Banner Triple Punch was used to flag a strip of copper and another of Dapper Denim. The sentiment from the Sunshine Sayings stamp set was stamped on the copper foil using Jet Black Stazon ink. The strips were adhered to the card front with Fast Fuse and the leaves with Dimensionals.

A Watercolor matte for the inside of the card had the smallest leaf from the Colorful Seasons stamp set stamped in Versamark and then heat embossed using Copper Embossing Powder. Sponges were used to ink the edges using Crushed Curry, Pumpkin Pie and Real Red. The matte was adhered inside the card with Fast Fuse.

Linda Vich Creates: Fall Leaves Birthday. Multicolored and copper leaves seem to pop right off the embossed Very Vanilla matte on this fall birthday card.

Linda Vich Creates: Fall Leaves Birthday. Multicolored and copper leaves seem to pop right off the embossed Very Vanilla matte on this fall birthday card.

I am so pleased with how this card turned out! So many ways to use leaves on a card. What have you created with leaves? Leave me a comment below!


Wednesday, September 20, 2017

Colorful Seasons Birthday

Linda Vich Creates: Colorful Seasons Birthday. Heat embossed copper leaves peak from beneath a dry embossed wood plank matte, topped with a square of Wood Textures DSP that is embellished with die cut leaves.
The card share I have for you today was CASEd from a card by Natalie Lapakko. I liked her use of the Wood Textures DSP with the ornate leaf die cut from the Seasonal Layers Thinlits. However, I find it very hard to make a truly clean and simple card!

To begin with, I cut a 5 x 7" card base from Soft Suede. Using Versamark, I stamped the detailed leaf from the Colorful Seasons stamp set around the edges of the card front and then heat embossed them with Copper Stampin' Emboss Powder.

I then cut a Dapper Denim matte and dry embossed it using the Pinewood Planks Dynamic Embossing Folder after first spritzing it with water. A square of both Soft Suede and the Wood Textures DSP was cut and the two adhered together using liquid adhesive. A Soft Suede marker was used to edge the complete piece so that the white edges from the DSP did not distract from the beauty of the card.

Using the dies from the Seasonal Layers Thinlits, I die cut a leaf from Watercolor Paper and the detailed leaf from Copper Foil. Using sponges, I added color to the watercolor paper leaf.

The sentiment from the That's The Tag stamp set was stamped on Very Vanilla using Dapper Denim and then punched with the Everyday Label Punch. I used the now retired Paper Piercing Pack Essentials along with my Piercing Mat and Piercing Tool to line up and pierce two holes in the tag which I then punched with the 1/8" Circle Punch.

Linda Vich Creates: Colorful Seasons Birthday. Heat embossed copper leaves peak from beneath a dry embossed wood plank matte, topped with a square of Wood Textures DSP that is embellished with die cut leaves.
Photo shows the Paper Piercing Pack Essentials
being used to pierce holes symmetrically in the tag.

Linda Vich Creates: Colorful Seasons Birthday. Heat embossed copper leaves peak from beneath a dry embossed wood plank matte, topped with a square of Wood Textures DSP that is embellished with die cut leaves.
The pierced holes were used as a guideline for
punching holes with the 1/8" Circle Punch.

Dapper Denim and Soft Suede were sponged around the tag and then I used Linen Thread to attach the tag and taped the ends on the back of the Dapper Denim matte. The wood matte was attached to the top of the matte using Dimensionals with the colored leaf also being attached with Dimensionals and the copper leaf with glue dots. The Dapper Denim matte was then adhered to the card front using Dimensionals.

For inside the card, the ornate leaf was stamped with Versamark and heat embossed with copper on Very Vanilla. Dapper Denim was sponged around the edges before the matte was adhered inside to complete the card.

Linda Vich Creates: Colorful Seasons Birthday. Heat embossed copper leaves peak from beneath a dry embossed wood plank matte, topped with a square of Wood Textures DSP that is embellished with die cut leaves.

Linda Vich Creates: Colorful Seasons Birthday. Heat embossed copper leaves peak from beneath a dry embossed wood plank matte, topped with a square of Wood Textures DSP that is embellished with die cut leaves.

Linda Vich Creates: Colorful Seasons Birthday. Heat embossed copper leaves peak from beneath a dry embossed wood plank matte, topped with a square of Wood Textures DSP that is embellished with die cut leaves.

I really like the look of the Dapper Denim with the wood and the copper foil!


Saturday, June 24, 2017

June Wind Up and Projects

Linda Vich: June Wind Up and Projects. Balloons and a paper pieced stamp from Beautiful You produce a stunning layered card.
Friday night was our last stamping class until September. It was bittersweet because so many ladies, from our group, for various reasons, will not be returning to the group in the fall. However, we did have a lovely time by starting the night with goodies and socialization.

I was the lucky recipient of a beautiful card and a gift card to a local spa! It will be such a treat to look forward to using!

After gorging ourselves on various appetizers and desserts, it was a bit difficult to get going on crafting but we managed!

Our first card was a CASE from demonstrator Michelle Carter.

This card was not hard to make though it looks complicated!

A standard card base from Berry Burst was used as well as a small matte of 2.75 x 4". In addition to these, two Whisper White mattes were used, 2.5 x 3.75" and two 4 x 5.25". A piece of the Fresh Florals Designer Paper in Berry Burst was also cut 4 x 5.25" with it cut further at 2.25" to produce two strips.

The larger Whisper White matte was adhered to the card front using Fast Fuse. The larger strip of DSP was adhered onto the white matte.

The Beautiful You stamp set was used and the lady was stamped twice, using Basic Black–once onto the smallest Whisper White matte and once onto the smaller strip of DSP. The stamp on the DSP was fussy cut so that the dress and the hat were able to be glued onto the stamped image on the white card stock. This was then matted with the Berry Burst and adhered to the card front using Dimensionals.

From the remaining strip of DSP, two balloons were punched using the Balloon Bouquet Punch and three balloons were punched from scraps of Berry Burst card stock. Two card stock balloons were glued to the card front with one DSP balloon adhered over top using a Dimensional. The strings were drawn in using a fine point Sharpie.

Inside the card, the sentiment was stamped in Basic Black on a Whisper White matte and then two balloons, one from card stock and one from DSP were adhered, overlapping, on the side of the matte; strings were drawn in like before.

Linda Vich: June Wind Up and Projects. Balloons and a paper pieced stamp from Beautiful You produce a stunning layered card.

Linda Vich: June Wind Up and Projects. Balloons and a paper pieced stamp from Beautiful You produce a stunning layered card.

Linda Vich: June Wind Up and Projects. Balloons and a paper pieced stamp from Beautiful You produce a stunning layered card.


For the second card, the stampers had a choice of either a Sunset Silhouette or a Tropical card.

For the Sunset card, a standard card base of Pumpkin Pie was cut as well as a thin Basic Black matte and a Shimmery White matte.

The Embossing Buddy was used to remove any marks from touching the matte. Using Watercolor Pencils, bands of color were scribbled onto the Shimmery White matte using a vertical orientation. An Aqua Pen was then used to soften the pencil strokes into a watercolor wash. The heat tool was used to dry the matte and then, using the MISTI, the sentiment from the Colorful Seasons stamp set and the birds from the High Tide stamp set were stamped three times with Basic Black to produce a very black print.

After getting matte as flat as possible, the Adirondack chair was die cut from Basic Black using the Seasonal Layers Thinlits and then adhered to the matte using a sponge and liquid adhesive. The matte was then adhered to the Basic Black matte with Fast Fuse and then adhered to the card front using Dimensionals.

A leaf was stamped on the remaining Whisper White matte using Pumpkin Pie and then edges inked with Real Red before the matte was adhered inside the card.

Linda Vich: June Wind Up and Projects. Watercolor pencils are used to create a wash as the backdrop for this Sunset Silhouette, complete with an Adirondack chair die cut with the Seasonal Layers Thinlits.

Linda Vich: June Wind Up and Projects. Watercolor pencils are used to create a wash as the backdrop for this Sunset Silhouette, complete with an Adirondack chair die cut with the Seasonal Layers Thinlits.

Linda Vich: June Wind Up and Projects. Watercolor pencils are used to create a wash as the backdrop for this Sunset Silhouette, complete with an Adirondack chair die cut with the Seasonal Layers Thinlits.

Linda Vich: June Wind Up and Projects. Watercolor pencils are used to create a wash as the backdrop for this Sunset Silhouette, complete with an Adirondack chair die cut with the Seasonal Layers Thinlits.


For the Tropical card, a standard card base of Bermuda Bay was used with a thin Pacific Point matte as well as one from Shimmery White.

Like the previous version of the card, the Embossing Buddy was used to remove any marks from the Shimmery White matte and then Watercolor Pencils were used to lightly scribble alternating bands of Pacific Point and Bermuda Bay using a horizontal orientation this time. The Aqua Pen was used and then the heat tool was used to dry the matte. Using the MISTI, the sentiment was stamped in Versamark and heat embossed using White Stampin' Emboss Powder.

After getting matte as flat as possible, the Adirondack chair, branch and three flowers was die cut from Thick Whisper White using the Seasonal Layers Thinlits. The branch was trimmed in places and then the chair, branch and flowers were adhered to the matte using liquid adhesive. The watercolored piece was then matted with Pacific Point and then adhered to the Bermuda Bay card front using Dimensionals.

A flower was stamped on the remaining Whisper White matte using Bermuda Bay and the edges inked with Pacific Point before the matte was adhered inside the card.

Linda Vich: June Wind Up and Projects. Watercolor pencils are used to create a wash as the backdrop for this Tropical card, complete with an Adirondack chair and branch with blossoms die cut with the Seasonal Layers Thinlits.

Linda Vich: June Wind Up and Projects. Watercolor pencils are used to create a wash as the backdrop for this Tropical card, complete with an Adirondack chair and branch with blossoms die cut with the Seasonal Layers Thinlits.

Linda Vich: June Wind Up and Projects. Watercolor pencils are used to create a wash as the backdrop for this Tropical card, complete with an Adirondack chair and branch with blossoms die cut with the Seasonal Layers Thinlits.

Linda Vich: June Wind Up and Projects. Watercolor pencils are used to create a wash as the backdrop for this Tropical card, complete with an Adirondack chair and branch with blossoms die cut with the Seasonal Layers Thinlits.

Hopefully, everyone will enjoy a lovely summer if Mother Nature cooperates and I will prepare for September!