Showing posts with label tags & labels framelits. Show all posts

Thursday, October 6, 2016

A Halloween Treat, A Ghost, and Other Creepy Stuff

Linda Vich Creates: A Halloween Treat, A Ghost, and Other Creepy Stuff. A ghastly group of Halloween projects created with Swirly Scribbles Thinlits, Pyramid Pals Thinlits, Cookie Cutter Halloween and the Cookie Cutter Builder Punch.
Today I'm sharing with you a few of the 3D projects that I displayed for my new stamping group.

First up is a little Halloween Treat Box. This project was CASEd from Lisa's Christmas project. I used a piece of Basic Black card stock to make the box itself and then the belly band was cut from a sheet of the Halloween Night Specialty DSP.

To embellish the box with pumpkins, I cut two of the circles from Pumpkin Pie using the Swirly Scribbles Thinlits and used both the Petite Petals and Blossom Bunch Punches to punch leaves from Garden Green.

I used the Tags & Labels Framelits to cut a tag from Thick Whisper White and then used the stamps from the Spooky Fun stamp set with Basic Black and Pumpkin Pie.

One of our clear bags was used for candy and I tied it off with our now retired Pumpkin Pie 1/4" Cotton Ribbon.

Linda Vich Creates: A Halloween Treat, A Ghost, and Other Creepy Stuff. A Halloween treat box made with Halloween Night Specialty DSP and the Swirly Scribbles Thinlits.

Linda Vich Creates: A Halloween Treat, A Ghost, and Other Creepy Stuff. A Halloween treat box made with Halloween Night Specialty DSP and the Swirly Scribbles Thinlits.


For my ghost, I used the Pyramid Pals Thinlits to cut vellum for the ghost's body. All but the back of the ghost was adhered with Fast Fuse. For the back I used glue dots to allow the ghost to be opened to insert and turn on the tea light. To complete the ghost, I simply added googly eyes.

Doesn't he look cute? I think a grouping of these would look lovely in a dark corner for Halloween!

Linda Vich Creates: A Halloween Treat, A Ghost, and Other Creepy Stuff. A ghost created by using vellum, a tea light and the pyramid pals thinlits.

Linda Vich Creates: A Halloween Treat, A Ghost, and Other Creepy Stuff. A ghost created by using vellum, a tea light and the pyramid pals thinlits.


Lastly, I made three sets of Halloween earrings. These are really a lot of fun to make!

I used Jet Black Stazon ink and my MISTI to stamp onto Frosted Ruff N' Ready Shrinky Dinks plastic. After I was sure that they were dry, I used a sharpie marker to color red onto the Vampire while leaving the skeleton and mummy as they were stamped.

I used the 1/4" Circle Punch to put holes at the top of each and then used my piercing tool to hold each piece, through the hole, on a heat resistant surface. I heated each piece with my Heat Tool. While heating, the plastic billows and curves and then eventually shrinks and flattens into the final size, one-third the size of the original and nine times thicker!

To complete the earrings, I used 4 and 6 mm jump rings and earring wires.

Linda Vich Creates: A Halloween Treat, A Ghost, and Other Creepy Stuff. Halloween earrings made by using Cookie Cutter Halloween, Cookie Cutter Builder Punch, and Shrinky Dinks plastic.

Linda Vich Creates: A Halloween Treat, A Ghost, and Other Creepy Stuff. Halloween earrings made by using Cookie Cutter Halloween, Cookie Cutter Builder Punch, and Shrinky Dinks plastic.

Linda Vich Creates: A Halloween Treat, A Ghost, and Other Creepy Stuff. Halloween earrings made by using Cookie Cutter Halloween, Cookie Cutter Builder Punch, and Shrinky Dinks plastic.


I look forward to making more earrings in the future by using other stamps and dies!


Thursday, August 4, 2016

Thoughtful Branches Thank You

Linda Vich Creates: Thoughtful Branches Thank You. A lovely hydrangea blossom from Thoughtful Branches, in shades of Bermuda Bay and Island Indigo, rests against a grungy, Peekaboo Peach brick background.
When I sat down to design this card, I knew that I was going to use Bermuda Bay and Island Indigo, because they were favorites of the recipient, and I also added Cucumber Crush because the three colors produced a lovely analogous color scheme. However, I chose a complementary color, Peekaboo Peach, to really add some punch.

I started by stamping the blossoms, from the Thoughtful Branches stamp set, in both Bermuda Bay and Island Indigo on Thick Whisper White. They were die cut with the matching Thinlits. A set of leaves were also die cut from Cucumber Crush.

A matte was cut from Thick Whisper White and embossed with the Brick Wall Embossing Folder. I really love using the Thick Whisper White because it embosses so nicely! The Watercolor Wash stamp was used to stamp over the bricks using Peekaboo Peach to give them a nice grungy look. I also added in a few ink splatters by flicking the long end of a Tangerine Tango Stampin' Write Marker against its cap.

A 4.75 x 6" card base was cut from Peekaboo Peach as well as mattes from both Cucumber Crush and Bermuda Bay. I used a sponge dauber to ink the edges of all three mattes to provide separation of the colors and then Iadhered the embossed matte to the Cucumber Crush one with Fast Fuse. Dimensionals were used to adhere this combined matte to the Bermuda Bay one.

I chose the woodgrain stamp from Timeless Textures to add Tangerine Tango around the edges of the card base, echoing the splatters on the embossed matte. The mattes were then adhered with Dimensionals.

Using cut up Dimensionals, the two flower die cuts were adhered to one another, the Island Indigo one inverted under the Bermuda Bay one. The blossoms and the leaves were then adhered to the card front using Glue Dots.

The sentiment, from the Bunch of Blossoms stamp set, was masked so that I could stamp each part in different colors onto Thick Whisper White. The sentiment and a matte from Island Indigo was then die cut using the Tags & Labels Framelits. They were adhered to the card front and a small bow from Peekaboo Peach Ruched Ribbon was added to finish the card front.

A Whisper White matte was cut for the inside of the card. Stems were stamped in Cucumber Crush and the blossoms stamped three times in Island Indigo to provide some dimension.

Linda Vich Creates: Thoughtful Branches Thank You. A lovely hydrangea blossom from Thoughtful Branches, in shades of Bermuda Bay and Island Indigo, rests against a grungy, Peekaboo Peach brick background.

Linda Vich Creates: Thoughtful Branches Thank You. A lovely hydrangea blossom from Thoughtful Branches, in shades of Bermuda Bay and Island Indigo, rests against a grungy, Peekaboo Peach brick background.

Though I would not have immediately chosen this five color combo for a card, I believe that these colors work well together to provide a stand-out card! Feel free to save this color combo for your own creations.

Linda Vich Creates: Color Combo from Thoughtful Branches Thank You card.


Friday, November 13, 2015

Who's Hiding In The Woods?

Have you been lamenting the long list of back orders at Stampin' Up? It has been a frustrating few months for customers and demonstrators alike but stock is slowly being replenished and back orders are being filled.

The other day I received my long awaited Woodlands Embossing Folder. Yippee!

I had been viewing pin after pin on Pinterest showing all the neat ways Woodland could be used. I was specially intrigued by the technique of stamping "behind" the tree trunks.

I didn't have any of the old car stamps but I did have a deer stamp. What would be more apt than a deer in the woods?

I watched two really good video tutorials on the technique, one by a demonstrator nicknamed, Frenchie, and one by Dee Slater. The technique involves applying ink to the inside of the top piece of the embossing folder, either directly (by stroking the embossing folder with the ink pad) or with a sponge. Then the image that you want behind the trees get stamped on the embossing folder as well.

Next, a piece of card stock is placed in the folder, the folder is closed and then the folder is run through the Big Shot as usual.

I tried a few test pieces using various ink colors before deciding on using Soft Sky for the background and Baked Brown Sugar for the deer.

As per the tutorials, I applied Soft Sky ink to the inside of the Woodland folder and then stamped the deer from the now retired hostess set, Warmth & Wonder, using Baked Brown Sugar. I wasn't totally pleased with my results—the background was a touch streaky, and the deer was a little splotchy. The streaky background didn't bother me too much but the deer needed some help. I carefully touched up the deer using my Baked Brown Sugar Stampin' Marker.

Next, I applied some Smoky Slate ink to the tree trunks using a sponge dauber. I trimmed the panel to 3.75 x 5" and then inked the edges using both Baked Brown Sugar and Soft Suede inks.

I inked the edges of a Soft Sky matte using Lost Lagoon and then adhered the embossed panel. I taped a length of 3/8" Lost Lagoon ribbon around the left side and then tied a short piece in a knot around it.
I adhered this panel to a card base of Baked Brown Sugar.

Using a piece of Gold Cording Trim, I threaded on a Basic Gold Metal Button and tied it onto the ribbon.

On a piece of Whisper White I stamped the "merry" sentiment, from the now retired Pennant Parade stamp set, using Lost Lagoon and then die cut it using the smallest tag die from the Tags & Labels Framelits. I inked the edges of the tag and then used some more Gold Cording to hang it from the button.

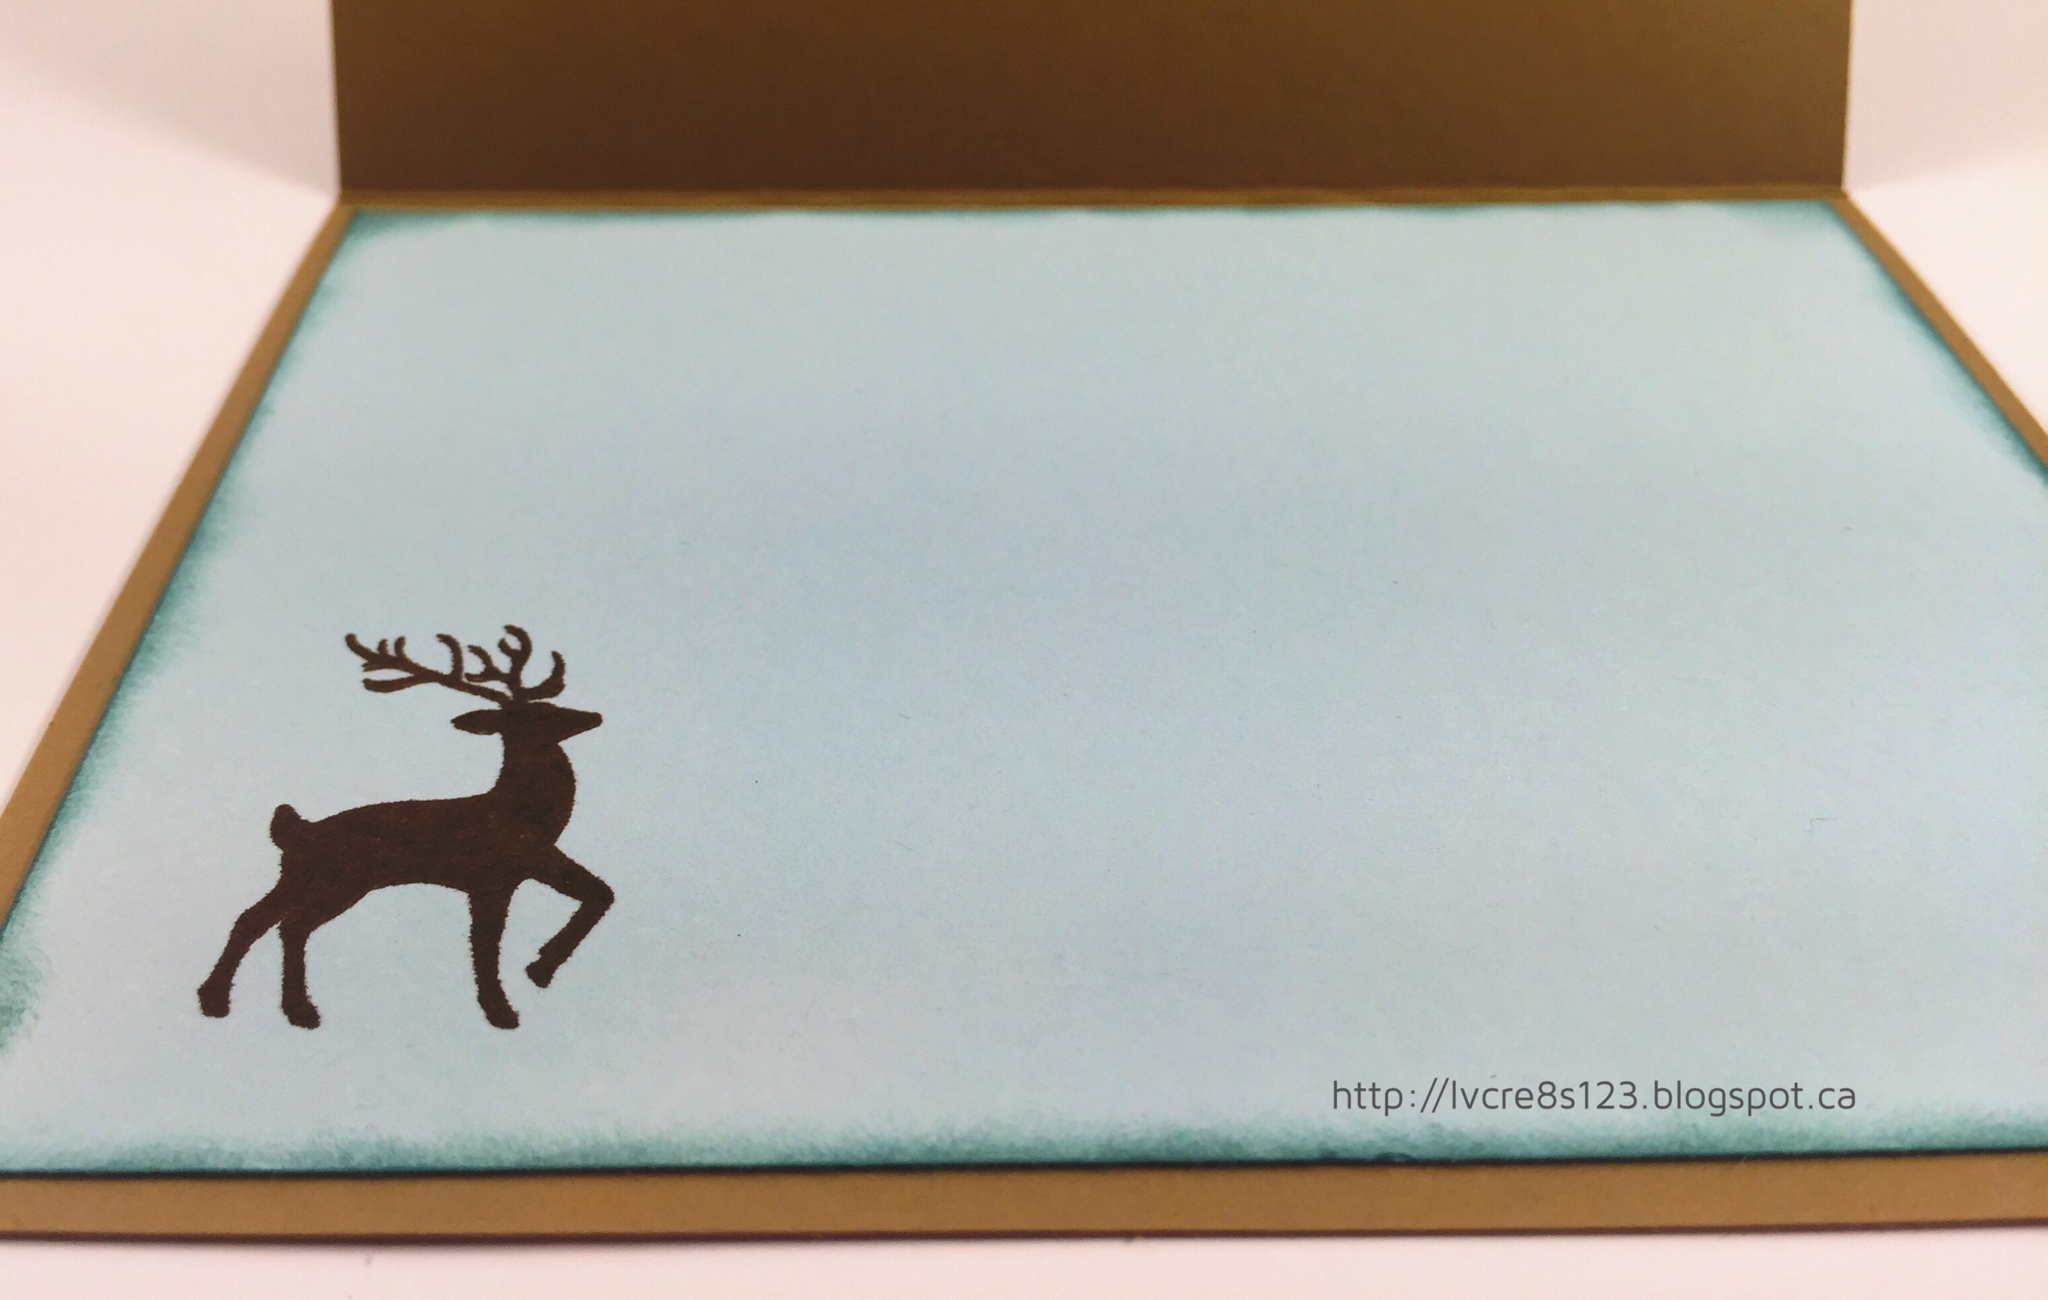
I cut another Soft Sky matte for the inside of the card, inking the edges with Lost Lagoon. I stamped a deer in the bottom left corner using Soft Suede and then adhered the matte using Fuse Fast Adhesive.


I must say that I'm liking the color combo of Soft Sky and Baked Brown Sugar! What do you think? Drop me a comment below!

Built for Free Using: My Stampin Blog