>>>>>Update<<<<<
My card was chosen as a Top Pick on Stampin' Royalty #315! Woohoo! Click on the picture below to come and play!
Wow! Have you ever had one of those crafting sessions where everything just goes together tickety-boo? I certainly had one of those days today!
I was actually working on a couple of different projects–coloring for a card challenge project and creating a new card.
When I started, I knew three things:
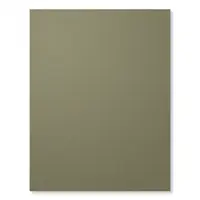
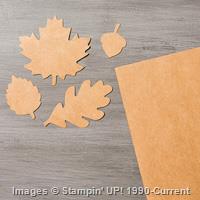
- color scheme–Kraft and Always Artichoke
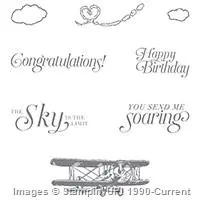
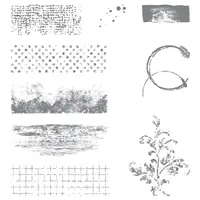
- stamp sets–Sky Is The Limit and Timeless Textures
- layout–two mattes, one embossed; burlap trim
As I often do, I had the design software for my Silhouette open so I could draw out my idea and modify it as I worked on my card. I find this very useful because I can choose the exact size for mattes, etc. I even copy a picture of the stamp and put it into place to get an idea of how everything will fit together. It also cuts down on paper waste.
 |
| Card design in Silhouette Design Software |
I opened the Timeless Textures stamp set and started by choosing the grid pattern stamp. The Timeless Textures stamp set was a no-brainer purchase for me! So many useful stamps that can be used and used for years to come! This Sale-A-Bration stamp set is only available FREE with a $60 purchase until February 15. If you haven't yet got it, put it at the top of your list–you won't regret it!
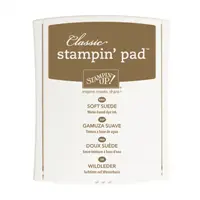
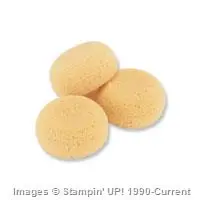
I chose the grid stamp and inked it up with the Soft Suede and stamped once at an angle on the left of the matte and then "dabbed" parts of it around the matte. Next, I used the kind of smudgy edge stamp and stamped it on the top and right edges of the matte. The coffee ring stamp was next. I stamped it off once and then stamped it once on the bottom and twice on the top. I used some of the grunge dots to sort of fill in the rest of the matte with texture. To give the whole matte some depth, I sponged deep edges and corners with the ink.
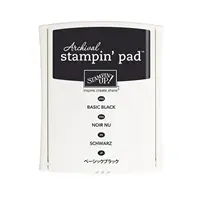
Basic Black ink was used to stamp both the plane and the sentiment.
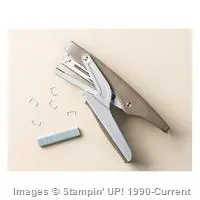
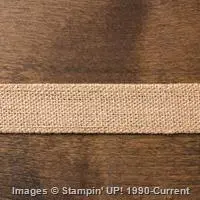
I cut a small piece of the Burlap ribbon and then cut it in half lengthwise. I folded one of the pieces in half and cut the ends at an angle. I knew that I wanted to staple the burlap to the matte but I didn't want a silver staple but that's all that we have from Stampin Up. So, what to do? I used a E15 Copic marker to color the staples and then stapled the burlap to the matte. The staples now looked just like I wanted them to look!
For the Always Artichoke matte, I didn't want to use the texture stamps but it was looking a little bare. I looked through my embossing folders from Stampin Up but didn't have one that would give the look I was after. I decided to use my Cheetah Print embossing folder (which is part of a set of two embossing folders) because I thought it sort of resembled camouflage which kind of went with the grungy card I was creating.
After embossing the matte, I sponged the edges as well as the embossed pattern to give it a bit of life.
All that was left to do was put the card together! I used Dimensionals for both mattes, turning the stamped matte at an angle.
I'm entering this card in the Stampin' Royalty Challenge #SR315. The theme is Cards For Guys.
One last thing before I leave you . . . did you spot the "oops" on my card? Leave me a comment below with your guess!




4 comments:
wow! I have not tried the software yet, Linda! Love what you achieved. Looks fabulous - and a great masculine and/or vintage card! Thanks for the inspiration - and the photo of the software - I need to look into that probably. hugs, de
Thanks so much Donna!
Hi Linda!!!
I love your "design it in the Silhouette" idea! Great card, thanks for playing along with us at Stampin' Royalty!
Thanks for your comments Carrie!
Post a Comment